
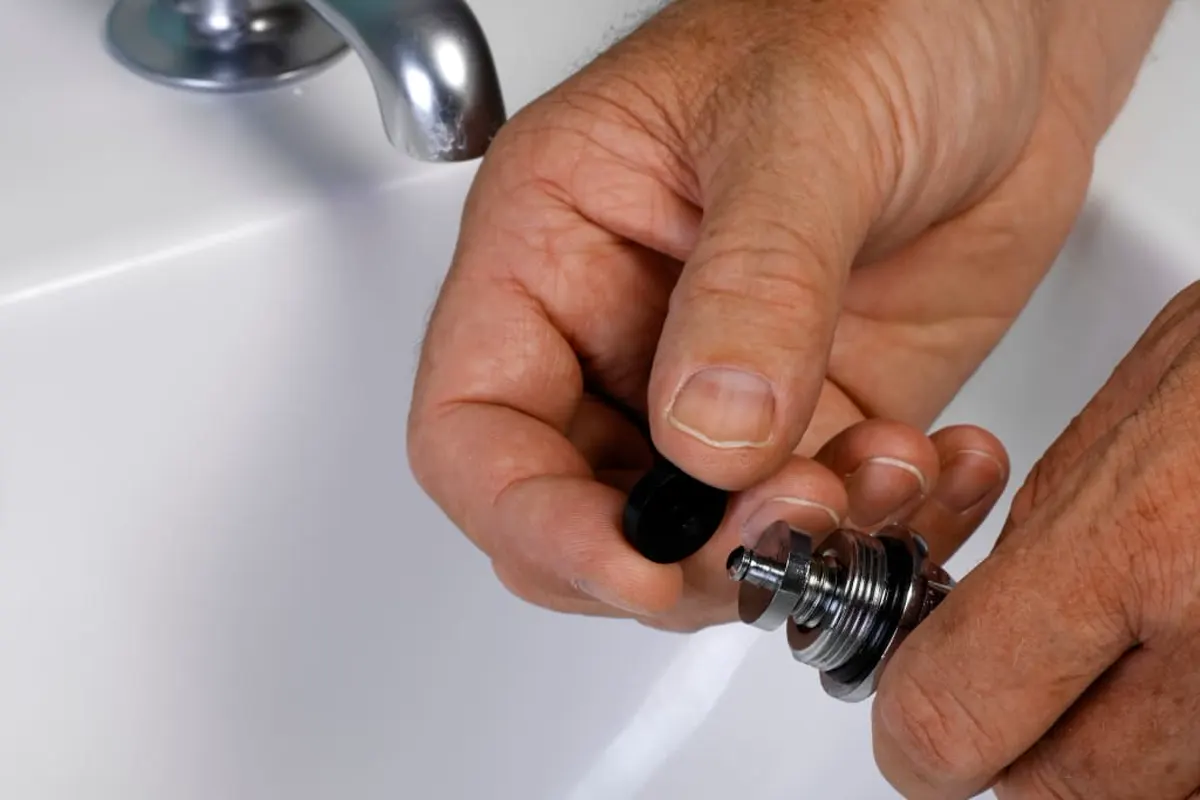
In our guide, we’ll run you through how to change a washer in a tap – no matter what style you’ve got. From old-school two-handled taps through to modern single-lever mixers, we’ve designed our exclusive guide for every situation.
What kind of tap have you actually got?
As the tap type changes, so does your entire approach:
- If your tap needs several full turns to go from off to fully on, you’ve got a traditional compression tap, and you’re almost certainly dealing with a rubber or nylon washer.
- If it opens with a quarter or half turn, or uses a single lever, you’ve likely got a modern cartridge-based tap instead.
How to change a tap washer Australia wide generally comes down to this one distinction, since it determines whether you’re buying a $5 washer or a $20-$80 cartridge from the hardware store.
Before you touch anything
Turn off the water: Find the isolation valve under the sink and turn it clockwise. No valve there? Head to the main stopcock near your water meter instead.
Drain the line: Open the tap fully to let any remaining pressure and water out.
Plug the drain: Pop a cloth or plug in the sink so nothing important disappears down the pipe mid-repair. This step matters more than people give it credit for.
Next up, gather your tools:
- A flathead and Phillips screwdriver
- An adjustable spanner
- Pliers
- A rag.
That’s pretty much everything you’ll ever need for almost every job.
How to change a washer on an old fashioned tap
This is the classic job, and honestly the easier of the two.
- Pry off the decorative cap on top of the handle with a flathead screwdriver.
- Unscrew and remove the handle underneath.
- Use pliers to remove the metal skirt if there is one.
- Use your spanner to loosen and remove the bonnet nut, revealing the spindle and jumper valve.
- Remove the small screw or nut holding the washer in place and take out the old washer.
- Take the old washer with you to the hardware store to match it exactly, most standard household taps use a 12mm or 13mm washer, but it’s worth checking rather than guessing.
- Fit the new washer, making sure it sits flat, and secure it without overtightening.
Finally, reassemble everything in reverse order, then slowly turn the water back on.
How to change a washer on a mixer tap
Mixer taps look fancier, but the process is genuinely fairly similar – just with an extra step or two.
- Pop off the cap near the base or top of the lever with a flathead screwdriver, which usually reveals a set screw underneath.
- Remove the set screw and lift the handle away.
- Loosen the headgear or bonnet with your spanner to access the internal valve.
- If you’ve confirmed it’s a washer-based mixer, remove and replace the washer the same way as above.
- If it turns out to be a ceramic cartridge instead, the whole cartridge gets swapped rather than just a washer, so make sure you’ve bought the correct replacement, matching brand and model matters here.
To finish up, reassemble everything carefully (while avoiding overtightening), and restore the water supply gradually.
Congrats – you know know how to change a tap washer, no matter what style you’re dealing with.
Don’t forget the shower
We thought it was worth a dedicated section for a shower tap washer, even though they basically just wear in in exactly the same way as any other – and follows the same basic process for changing them.
However, you’ll often be working with less space and a slightly different handle style depending on whether it’s a separate hot and cold setup or a single mixer. But the core steps stay identical:
- Shut off the water
- Get the handle off
- Find the washer
- Swap it
- Put everything back together.
A quick word on washer types
Not all washers are created equal, and grabbing whatever’s cheapest off the shelf isn’t always the smart move.
Rubber & nylon washers: The most common and the cheapest, doing a perfectly good job for most household taps, though they tend to harden and wear out faster than the alternatives.
Fibre washers: They hold up better under high pressure and are worth considering for outdoor taps or anywhere copping heavier use.
Ceramic washers: These ones last the longest of the lot but only apply to certain tap designs, so it’s not always an option regardless of preference.
Whichever you land on, the golden rule stays the same: bring the old one with you, hold it up next to the replacement, and make sure it’s a genuine and exact match before you leave the shop.
While you’re in there, it’s also worth grabbing a spare or two for next time. Tap washers are cheap, and having one sitting in a drawer means the next drip gets sorted in 20 minutes instead of turning into a weekend project because you’ve got to make a special trip.
When to just call a plumber
If you’ve replaced the washer and the tap’s still dripping, the tap seat itself might be worn or damaged, which needs a different fix entirely. And if you’re not confident identifying what you’re dealing with, or a part simply won’t budge no matter how gently you coax it, that’s a perfectly good moment to stop and call in the professionals rather than risk turning a small drip into a bigger problem.
If your tap’s got the better of you, Caboolture Plumbing and Hot Water is just a call away – and we’ll have it sorted properly, the first time.