
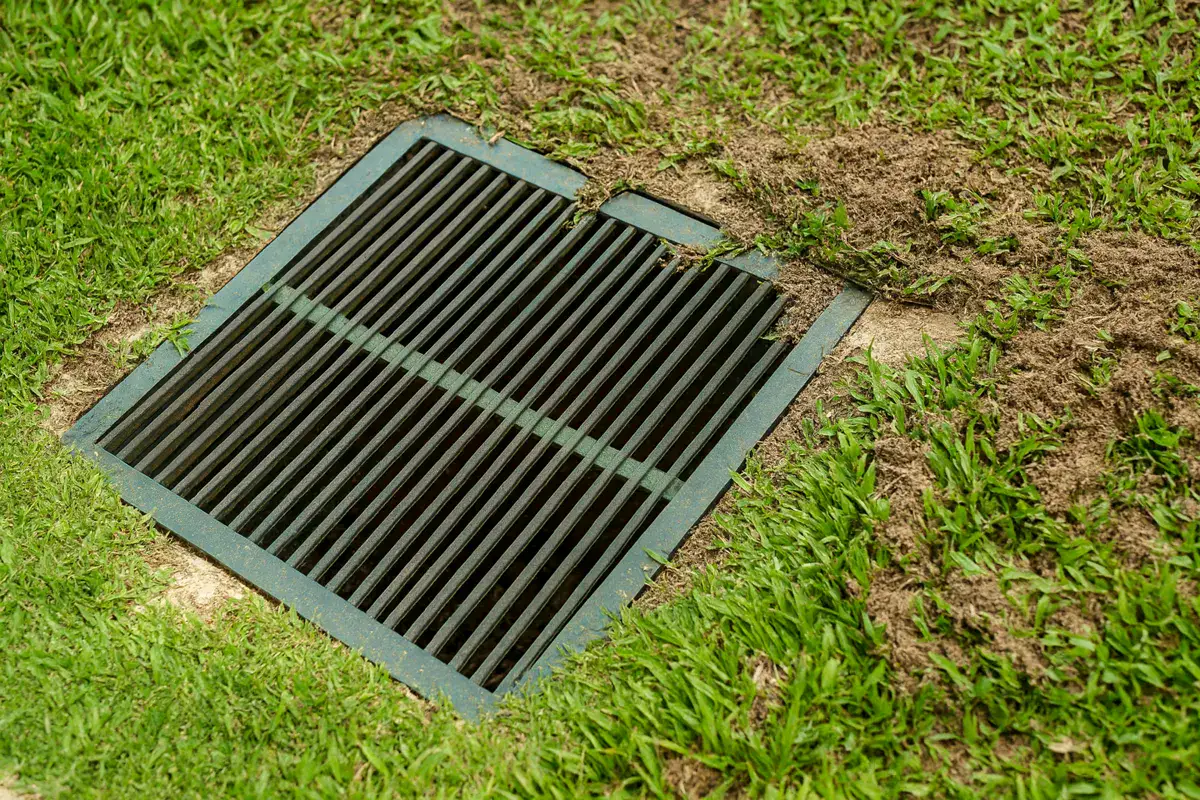
A 7-step DIY guide to stormwater pit installation
Have you been looking into drainage upgrades or dealing with blocked stormwater drains lately? If so, the chances are good that you’ve been wondering if stormwater pit installation is right for you. All the severe rain events, stricter building requirements and more awareness than ever about backyard flooding have made people far more curious about how these systems work – and whether one might be necessary for their own home.
The first question many homeowners ask us, though, is:
What is a stormwater pit?
They’ll then wonder:
How does a stormwater pit work – and is it the right solution for them?
Short answers? A stormwater pit acts as a collection point that captures rainwater runoff, controls its flow, and redirects it safely into the drainage network. When installed correctly, it prevents pooling, erosion, soggy lawns and water damage around your home.
And because more homes than ever are now dealing with compacted soil, landscaping levels, pool overflows and intense downpours, questions about storm water pits are becoming a regular part of the conversations us plumbers have with Caboolture locals.
Why homeowners are asking about stormwater pits
A stormwater pit helps collect excess water before it creates problems. Even small blockages or uneven land can lead to pooling that damages:
Foundations
Driveways
Gardens and more.
Many clients are asking us whether their problem is a sign they need a pit drain added – or whether something else is going on. Often the issues include overflowing downpipes, slow-draining yards, water entering sheds or garages, or paved areas that never fully dry out.
In a nutshell, the benefit of installing one is simple – you create a controlled place for water to go. That’s why residential stormwater pit installation has grown so much in popularity across Queensland recently – because homes are more exposed to extreme rainfall, and people want long-term protection rather than constant short-term fixes.
Is a stormwater pit the right solution for you?
Truth be told, not every home needs one. Sometimes the problem can be fixed with:
Downpipe redirection
Surface drains
Trench drains
Or upgraded gutters.
- Gutter Replacement
At other times, only installing a stormwater pit will solve the underlying issue you’re dealing with.
A pit is typically a good match when:
Water pools regularly in one area
The yard has little natural fall
Soil absorbs water slowly
Downpipes discharge too close to the home
A slope directs water toward the house rather than away from it.
For some homes, a drainage pit is overkill – while for others it’s the only reliable long-term fix. A quick property inspection usually reveals whether a backyard stormwater pit or another system will work better.
DIY-friendly 7-step guide to installing a stormwater pit
Looking for the simplest possible explanation for pit installation? We’re happy to deliver that for you – the cleanest way to understand the full process. Keep in mind that DIY is only suitable for straightforward situations – more complex or deep installations should always be handled professionally.
Step 1 – Assess where the water naturally collects
Start by watching the yard during heavy rain or hosing the area. Identify the lowest point or the section where water lingers. This helps you know where the pit drain should go.
Step 2 – Check where the pit will discharge
A stormwater pit is only useful if it sends water somewhere safe. Confirm whether you have access to the legal stormwater system, underground pipework, or an existing connection point. Avoid sending water onto neighbouring properties.
Step 3 – Select the correct pit type and size
Pits come in plastic, polymer concrete and full concrete. Shallow small pits suit paved areas, while larger ones suit lawns or high-flow zones. Make sure the grate type matches how the surface will be used:
Pedestrian?
Driveway?
Garden?
Step 4 – Excavate the hole
The excavation must be wider and deeper than the pit to allow for bedding material. DIYers often underestimate depth, leading to poor performance or movement after installation.
Step 5 – Lay bedding and ensure level placement
Place gravel or compacted bedding to keep the pit stable. Set it level with the surrounding ground. This helps ensure water flows in naturally.
Step 6 – Connect the inlet and outlet pipework
This is usually the hardest part for DIYers. Pipes must be joined correctly, sealed tightly and set with the right fall. Incorrect angles cause future flooding or blockages.
Step 7 – Backfill securely and test
Backfill around the pit with gravel or compacted soil. Then run water into the area to check flow. If everything drains smoothly, the backyard stormwater pit is ready to go.
When you shouldn’t DIY a stormwater pit
Even though the steps sound simple, drainage work often becomes complex quickly. Badly designed drainage can lead to erosion, movement and even burst pipes over time. You should consider getting a professional if:
The pit needs to tie into deep pipework
Your property has limited fall
The council requires approval
The installation area is near footings, retaining walls or slabs
You’re unsure where existing underground services run.
A professional brings specialised tools, compliant materials, and real-life experience working with Queensland stormwater systems. They also ensure correct water flow direction, pipe sizing, pit depth and safe discharge. In many cases, a pro-installed system simply lasts longer and performs better – it’s just that simple.
Why a professional installation often outperforms DIY
A professional has the skills to design drainage based on factors like rainfall intensity, soil type and property layout. They can also identify when a residential stormwater pit installation needs additional elements like ag pipes, channel drains or surface grates. With Caboolture’s increasingly heavy downpours, proper design matters as much as proper installation.
And when a homeowner thinks the problem is only backyard pooling, a plumber might discover damaged stormwater pipes or root intrusion. That’s why stormwater pit installation is often bundled with broader drainage upgrades as standard – to prevent future problems.
Need help installing a stormwater pit?
Are you tackling drainage issues on your own and want to know whether a pit is the right choice? Why not just put it in our hands? Caboolture Plumbing and Hot Water can:
Assess your yard
Recommend the best solution
Install a long-lasting stormwater solution designed especially for Caboolture weather – and your precise property and situation.
Need expert help installing stormwater pit infrastructure at your place? Call now for fast advice and a fixed-price quote.